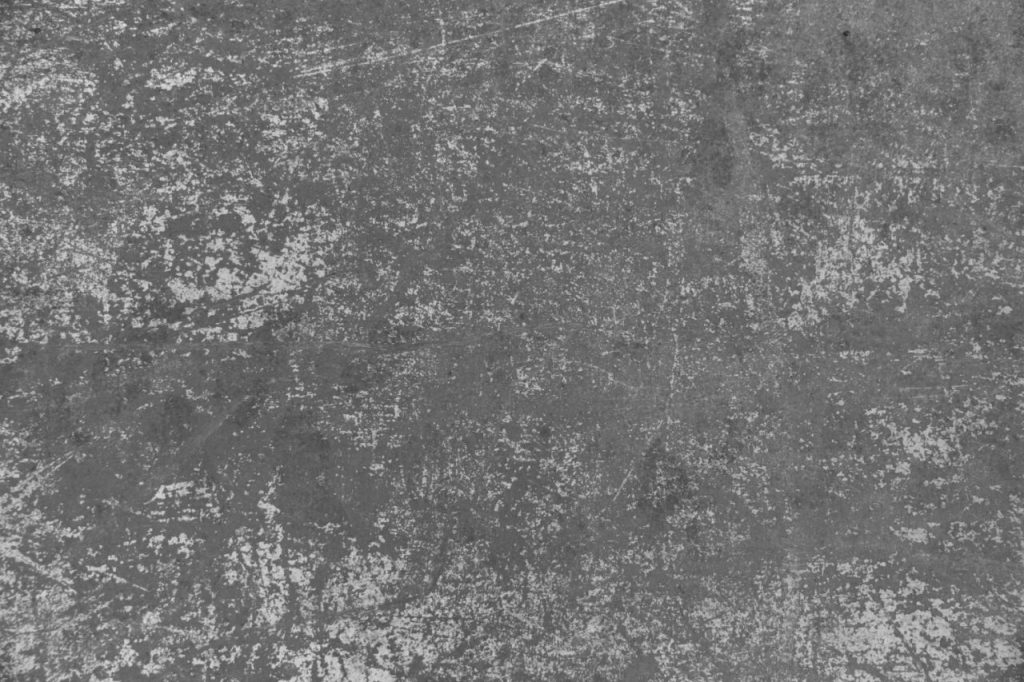
Plaster is a common construction material that can be found in the walls and ceilings of older homes and commercial buildings. The history of plaster's use dates back thousands of years. Throughout the late 19th and early 20th centuries, it dominated the market for interior finishings.
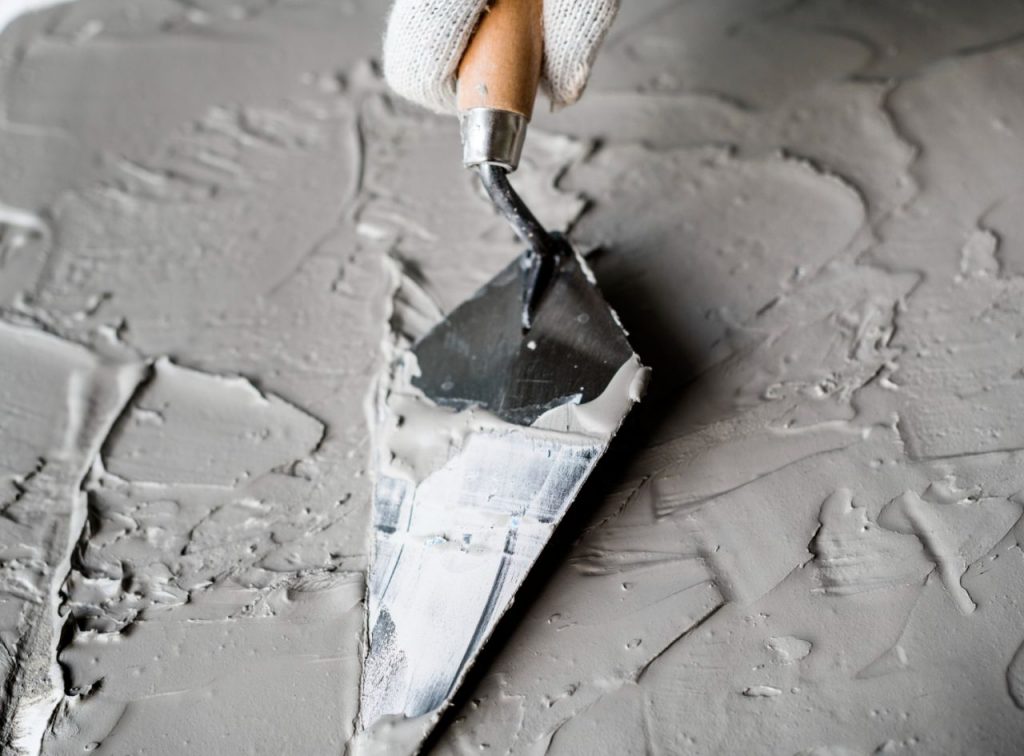
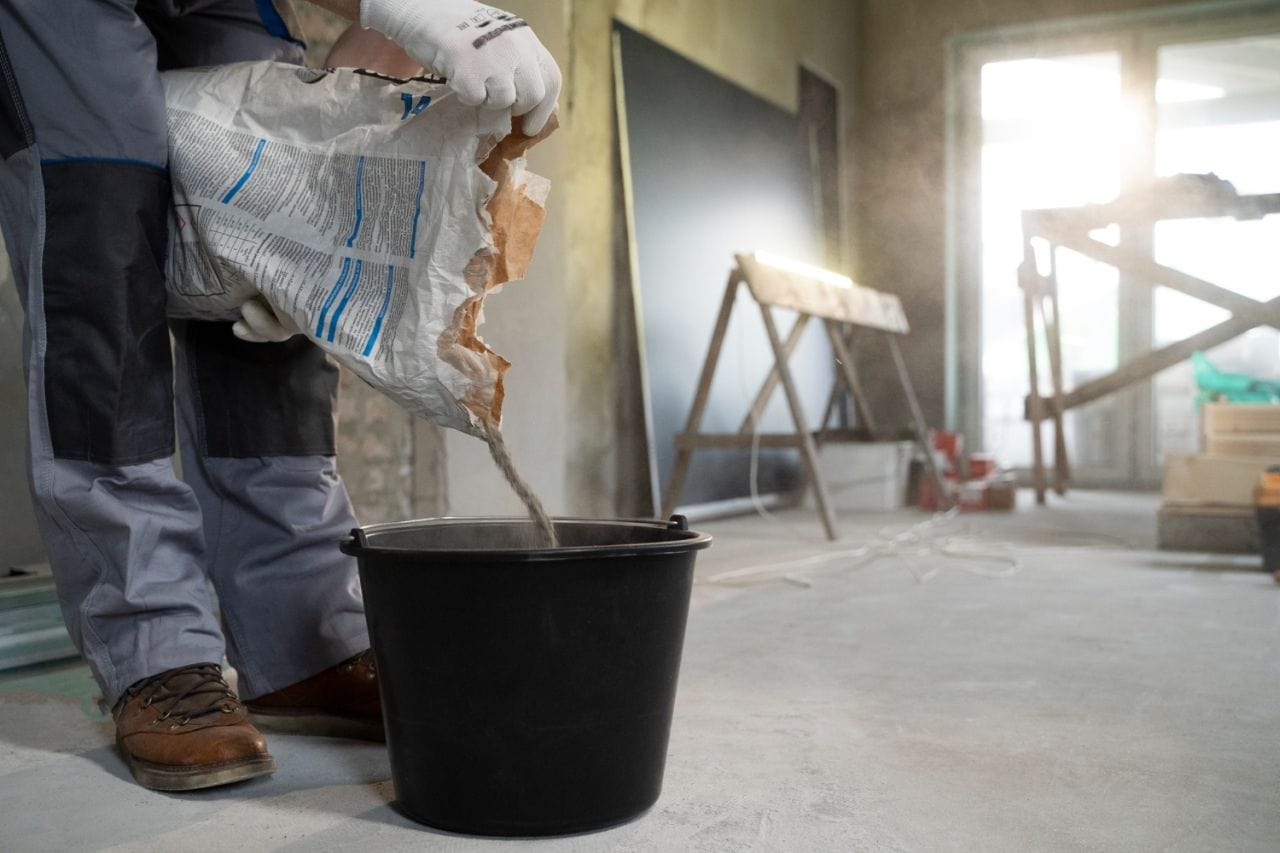
Lime or gypsum are the main ingredients in the powdered form of plaster. Plaster becomes a thick paste when combined with water.
This paste is typically applied directly to the bricks in a brick building, or over thin strips of wood lath in a frame building. Plaster needs to dry, or cure, before it can be used. When the plaster is dry, the homeowner can then add any finishing touches using paint, wallpaper, stencils, etc.
Plaster's rise to prominence can be attributed to the fact that it serves as a soundproof, resilient, and fireproof coating. Plaster is a significant aspect of your house or building’s historic character. If you're planning on applying for federal or state tax credits for your home or building's renovation, you should know that removing the original plaster could invalidate your application.
Discover the Origins of Plastering
Lime plaster, laid on wooden lath, was the standard for finishing walls and ceilings up to the turn of the twentieth century. Lime plaster was composed of lime, water, sand, and animal hair. Thin, consistent strips of pine wood lath were fastened to the inside of stud walls and ceiling joists in structures built after the mid-1850s. Each pair of wood lathes was separated by a little space. Three coatings of the finest plasterwork were applied for maximum quality.
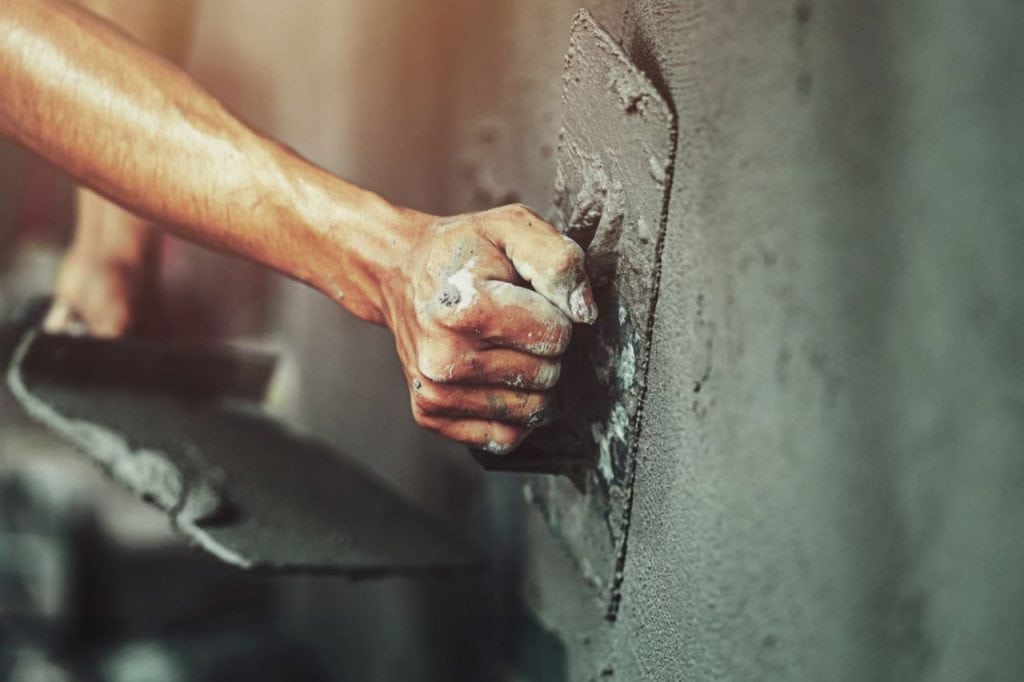
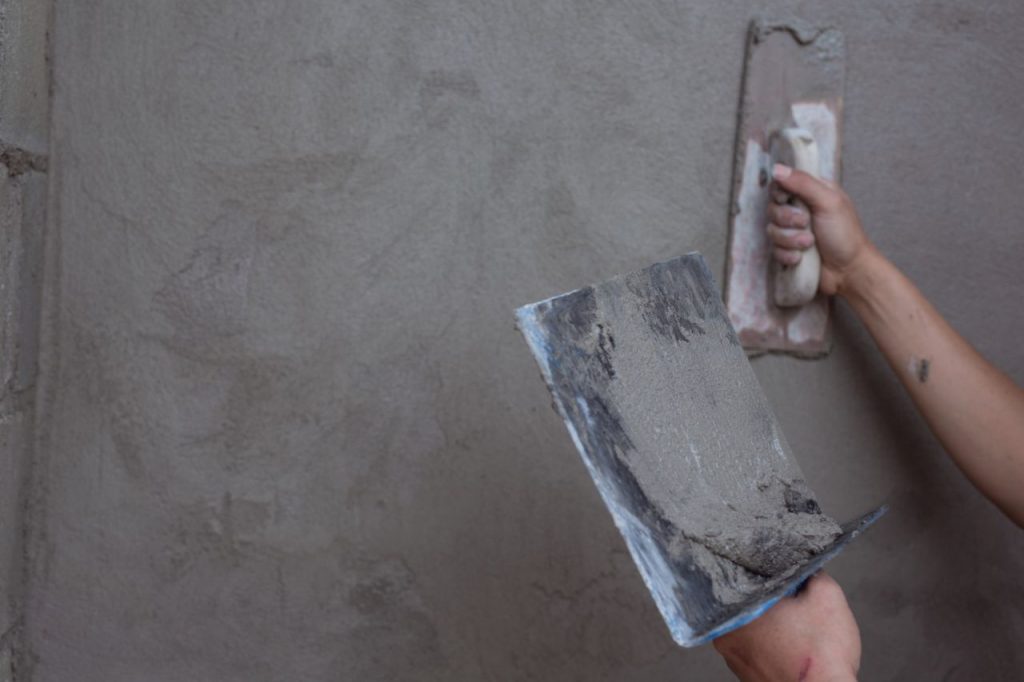
- Scratch coat. The initial coat, known as the scratch coat, was troweled onto the wood lath at a thickness of 3/8 inch. Plaster "keys" were formed as plaster leaked into the spaces between the lath strips. The plaster surface was scratched in preparation for the application of the second coat.
- Brown coat. The brown coat, the second layer, was 3/8 inches thick and levelled everything off for the final coat.
- Finishing coat. The third coat was the finishing coating, and it was thinner than the previous two.
Metal screen lath and plaster made from gypsum were introduced in the late 1800s due to their useful properties. When compared to wood lath, metal lath does not expand and compress as much, and the mesh screen has more openings through which the scratch coat can seep. Increased bonding keys were produced by the higher number of holes filled with plaster. When compared to lime-based plaster, gypsum-based plaster cured considerably faster.
Wisconsin construction projects began utilising rock lath in the early 1900s and continued into the 1960s. Often measuring 3 feet by 5 feet, rock lath was a compacted gypsum board with a paper face. Similarly to how drywall is installed now, rock lath was fastened to the wall or ceiling and then plastered with either lime or gypsum.
Unfinished or interior brick walls were often plastered. Walls composed of defective bricks and having mortar joints that are rougher or more tooled than exterior walls typically had two coats of plaster applied: a brown coat and a finishing coat. Some homeowners and business owners in the last few decades have taken the plaster off their brick walls. Removing the plaster, however, renders the wall less insulating and shows masonry that was never meant to be seen.
Repair Damaged Plaster
It's possible that your historic home or building's plaster walls and ceilings are damaged. The building settles, or the plaster bulges, and the lath separates, causing the cracks. Plaster strips of wood lath need to be reconnected with the plaster to fix these holes.
No matter how many times you fix the cracks, they will form again if the plaster isn't reattached to the lath. When the plaster keys on your walls or ceiling have come loose over time, you can repair the plaster by injecting an adhesive between both the plaster and lath.
Plaster walls can be repaired in a number of ways, including cracks and other damage. Unless your plaster walls have sustained significant damage, you should be able to handle most of these tasks on your own.
Choose a plaster repair technique from the list below based on the level of damage:
Patch minor cracks
Repair the tiny crevices.
Siliconized latex or plaster filler can be used to repair tiny cracks. Older plaster walls benefit most from products with lime additions, so look for those. Lime-based crack fillers maintain their pliability even after drying, so they don't rip apart.
After filling a crack, sanding it down, and painting over it will restore the wall's smooth appearance.
TIP: A piece of fibreglass mesh tape or something similar may be used to bridge a larger or recurrent fracture in your plaster wall. Spread the filler material in three even coats. When the initial filler layer has dried, add a second coat to completely hide the tape and to feather out the edges.
To achieve a uniform finish, apply a third coat and then lightly sand the surface. After the area has dried, clean it with a damp sponge and remove any lingering dust or plaster.
Fill in and reinforce major cracks
If your wall has huge or deep cracks, or if chunks of plaster are missing, you should clean up any debris.
The exposed plaster and lath must be washed down with a cleaning solution that is safe for plaster. When repairing cracked plaster, first determine the cause of the cracks and fix the underlying structural issues if necessary. After the structural damage has been fixed, strip the plaster away from the crack until you reach the lath, a process that will take about six inches on each side.
The existing wood lath should be left in place and the debris should be cleaned out. Prevent future cracking by applying metal lath to the cleaned area. To complete the repair, apply a new base coat and a finishing coat of plaster or plaster compound.
Put back any flaking plaster or drywall
If your plaster has truly detached from the wall or ceiling, you must first assess the level of separation.
You may be able to determine the thickness of the gap between the plaster and lath by applying pressure on the surface.
Do not try to force the plaster back into position between the lath strips if the plaster keys have been broken; doing so may cause further plaster to come loose.
To reconnect the plaster to the lathe below, you can buy screws and washers made for the purpose.
Put up some tie wires or lath nails to reinforce the wood lath beneath the plaster keys and patch.
Put up three layers of plaster over the metal lath, overlapping each successive layer to ensure a seamless transition from one to the next. By building up the layers in this way, you can create a durable, undetectable repair.
Plaster walls that are slightly wavy can be patched by contouring the repair such that it matches the wall's natural wave pattern. If a section of wall is flat, it will be immediately noticeable.
Fix a ceiling that has plaster that is significantly cracked or drooping
Your original ceiling can be preserved by the application of lath and plaster if it is too damaged to mend or sags excessively.
If lowering your ceiling would not hide any architectural details, then this repair method is perfect for you.
To conceal the old lath and plaster, you might cover it with wood furring strips, one for each joist. The furring strips are then covered with lath, either expanded metal or gypsum board. Next, plaster should be applied in two stages: a base coat and a final coat.
Best Practices
If you want to keep your original plaster walls and ceilings in pristine condition, follow these steps.
Don't mess with the original plaster; keep it in good condition
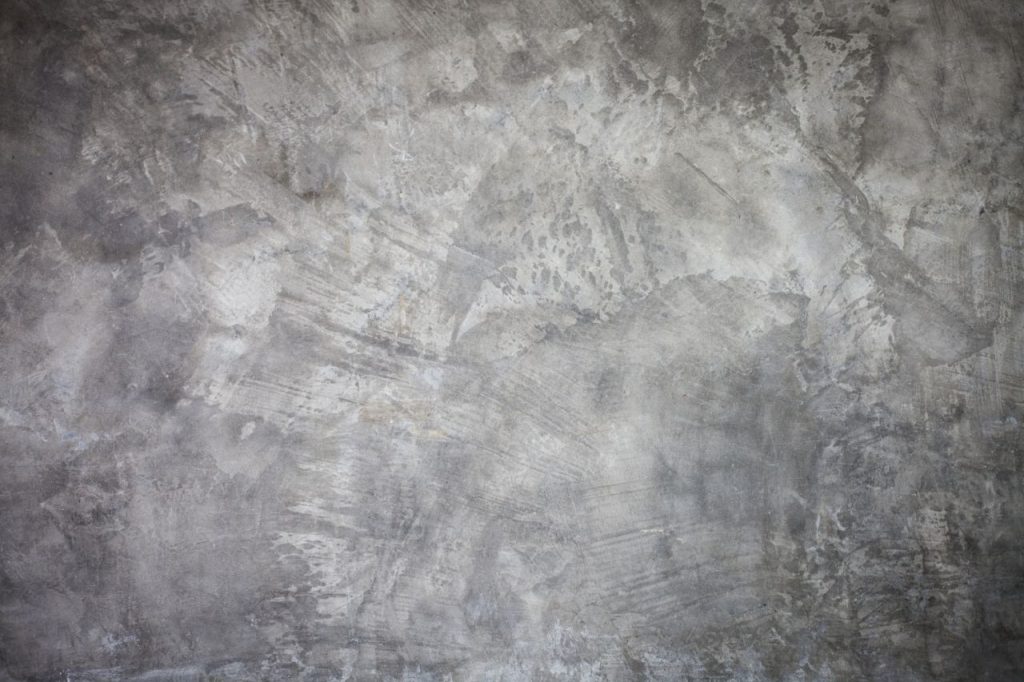
The historic value of your home or building depends on your keeping the plaster walls and ceilings in good condition. Unlike today's factory-made wall coverings, this antique finish's textured surface bespeaks a level of handiwork.
Do not try to get at the brick behind the plaster
The plaster on your brick walls should not be removed.
The insulating qualities of the plastered brick wall surfaces contribute to the overall energy efficiency of your home or structure. Plaster was never meant to be removed from brick walls inside a building.
Plaster deterioration, such as cracks, should be fixed
Plaster may fracture due to structural movement. Small cracks can be patched with joint compound, but bigger cracks should be addressed first. If your plaster walls have cracks or other damage, you can fix it by following the steps above.
Fix the badly crumbling wall plaster
The rotted plaster must be removed and the source of the water fixed before you can install new plaster in a home or building where it has been damaged by water.
Plaster removal should be left to a professional due to the presence of coal soot, lead-based paint, and asbestos. Employees are obligated to wear approved face shields.
Expert Tips
Many older buildings rely on historic plaster, making its preservation critical to ensuring the buildings' continued beauty and functionality. Preservation methods for historic plaster vary according to the level of damage and the state of the plaster.
In this piece, we'll go over the methods conservators propose for maintaining old plaster.
Consolidation
Plaster can be strengthened through a process called consolidation, which includes injecting a consolidating chemical into the plaster.
Plaster that is otherwise in good condition but has suffered from minor damage, such as cracks or chipping, can be repaired using this method.
The original plaster should be preserved by using a consolidant that is compatible with it, such as a lime-based consolidant, as recommended by experts.
Repairs
Plaster with severe damage, including big cracks or missing chunks, must be repaired immediately.
Plasters made from lime are recommended as a suitable patching material because of their similarity to the original plaster.
Using this material in thin layers will reduce the likelihood of breaking and shrinking. The patched portions can be brought up to par with the rest of the wall by applying a skim coat of plaster.
Stabilization
Plaster stabilisation is a procedure used to stop further crumbling.
Plaster that is crumbling or flaking can be repaired using this method. Plaster washes are recommended by experts as a means to stabilise plaster.
Plaster must be applied in a thin layer over the surface to secure it.
Cleaning
Plaster needs to be cleaned regularly if it is to be preserved for the future.
Specialists advise taking care when cleaning so as not to damage the plaster. Cleaning using a soft brush or sponge, or with a low-pressure water wash, is one option.
Avoid using any chemical cleaners on the plaster, since they may cause harm.
Preservation
Historic plaster needs long-term care, which is why preservation is essential. Plaster inspections should be performed routinely, as recommended by experts, to catch problems before they escalate.
Historic plaster can be preserved through regular maintenance such as fixing leaks and managing humidity levels.
Consolidation, restorations, and stabilisation are only some of the methods that can be used to preserve historic plaster.
In order to make the repairs fit in with the rest of the wall, it is essential to choose materials that are compatible with the original plaster.
Historic plaster needs to be inspected frequently and well maintained to ensure its longevity. If homeowners take the advice of these experts, their historic plaster will last for centuries to come.
Conclusion
The walls and ceilings of many older buildings, both residential and commercial, are typically made of plaster.
It can be slathered on top of bricks or directly to them using lime or gypsum. It's an important part of a building's historic charm and functions as a soundproof, resilient, and fireproof coating.
Your application might be thrown out if the original plaster was removed. After the middle of the 1850s, pine wood lath was attached to the stud walls and ceiling joists using lime plaster.
There were three layers of paint used: scratch, brown, and final. Metal screen lath and gypsum plaster, both with their own unique advantages, were introduced in the late 1800s. Plaster made with gypsum, as opposed to lime, hardened more quickly.
Rock lath was widely used in Wisconsin construction projects from the early 1900s until the 1960s. Fastened to the wall or ceiling and then plastered with either lime or gypsum, rock lath was a compacted gypsum board with a paper face.
Large or recurrent cracks in plaster walls can be patched with fibreglass mesh tape or something similar. In order to fix cracked plaster, it is necessary to first identify and address the underlying structural issues that led to the cracks.
After the underlying problem has been fixed, the crack should have its plaster stripped away to reveal the lath, which should then be cleaned with a damp sponge to get rid of any remaining dust or plaster.
Put back any peeling plaster or drywall, clean up the mess, and reinforce any large cracks you find. To determine how far the plaster has come loose from the wall or ceiling, you can press on it.
Purchase screws and washers designed for this purpose, and then use tie wires or lath nails to reconnect the plaster to the lathe below. Patching slightly undulating plaster walls is possible by contouring the repair to match the wall's natural wave pattern. Repair a plaster ceiling.
Content Summary
- Plaster is a common construction material that can be found in the walls and ceilings of older homes and commercial buildings.
- The history of plaster's use dates back thousands of years.
- Throughout the late 19th and early 20th centuries, it dominated the market for interior finishings.
- Lime or gypsum are the main ingredients in the powdered form of plaster.
- Plaster's rise to prominence can be attributed to the fact that it serves as a soundproof, resilient, and fireproof coating.
- Plaster is a significant aspect of your house or building's historic character.
- If you're planning on applying for federal or state tax credits for your home or building's renovation, you should know that removing the original plaster could invalidate your application.
- Lime plaster, laid on wooden lath, was the standard for finishing walls and ceilings up to the turn of the twentieth century.
- Thin, consistent strips of pine wood lath were fastened to the inside of stud walls and ceiling joists in structures built after the mid-1850s.
- Three coatings of the finest plasterwork were applied for maximum quality.
- Scratch coat.
- The initial coat, known as the scratch coat, was troweled onto the wood lath at a thickness of 3/8 inch.
- The plaster surface was scratched in preparation for the application of the second coat.
- The brown coat, the second layer, was 3/8 inches thick and levelled everything off for the final coat.
- The third coat was the finishing coating, and it was thinner than the previous two.
- Metal screen lath and plaster made from gypsum were introduced in the late 1800s due to their useful properties.
- When compared to wood lath, metal lath does not expand and compress as much, and the mesh screen has more openings through which the scratch coat can seep.
- When compared to lime-based plaster, gypsum-based plaster cured considerably faster.
- Wisconsin construction projects began utilising rock lath in the early 1900s and continued into the 1960s.
- Often measuring 3 feet by 5 feet, rock lath was a compacted gypsum board with a paper face.
- Similarly to how drywall is installed now, rock lath was fastened to the wall or ceiling and then plastered with either lime or gypsum.
- It's possible that your historic home or building's plaster walls and ceilings are damaged.
- When the plaster keys on your walls or ceiling have come loose over time, you can repair the plaster by injecting an adhesive between both the plaster and lath.
- Plaster walls can be repaired in a number of ways, including cracks and other damage.
- Unless your plaster walls have sustained significant damage, you should be able to handle most of these tasks on your own.
- Choose a plaster repair technique from the list below based on the level of damage: Patch minor cracks Repair the tiny crevices.
- Siliconized latex or plaster filler can be used to repair tiny cracks.
- TIP: A piece of fibreglass mesh tape or something similar may be used to bridge a larger or recurrent fracture in your plaster wall.
- Spread the filler material in three even coats.
- Fill in and reinforce major cracks If your wall has huge or deep cracks, or if chunks of plaster are missing, you should clean up any debris.
- Prevent future cracking by applying metal lath to the cleaned area.
- If your plaster has truly detached from the wall or ceiling, you must first assess the level of separation.
- You may be able to determine the thickness of the gap between the plaster and lath by applying pressure on the surface.
- Put up some tie wires or lath nails to reinforce the wood lath beneath the plaster keys and patch.
- Put up three layers of plaster over the metal lath, overlapping each successive layer to ensure a seamless transition from one to the next.
- By building up the layers in this way, you can create a durable, undetectable repair.
Frequently Asked Questions About Plaster
Materials like clay, sand, lime, and even animal dung or straw are used to create natural plasters. These components are applied to surfaces like walls and ceilings by being diluted in water.
Natural plasters, such as lime and sand, do not harm the ecosystem. They don't release any hazardous chemicals or pollutants into the air because they're made from all-natural, non-toxic materials.
Depending on the type of plaster and the environmental conditions, natural plasters have a lifespan of decades at the very least, and possibly centuries. For instance, lime plasters typically don't need to be redone for decades.
Natural plasters can be used in wet areas like bathrooms and kitchens, but they may need to be sealed with an oil or wax to prevent mould and mildew growth.
Natural plaster can be applied by homeowners themselves, but they should be familiar with plastering basics and the installation process. Workshops and expert consultations can provide additional insight into the procedure.