The term "Venetian plaster" refers to a modern interpretation of an ancient technique for creating a stucco wall finish. Putty-like Venetian plaster (sometimes called lime plaster) is formed by combining ground marble or limestone that has been burned with water.
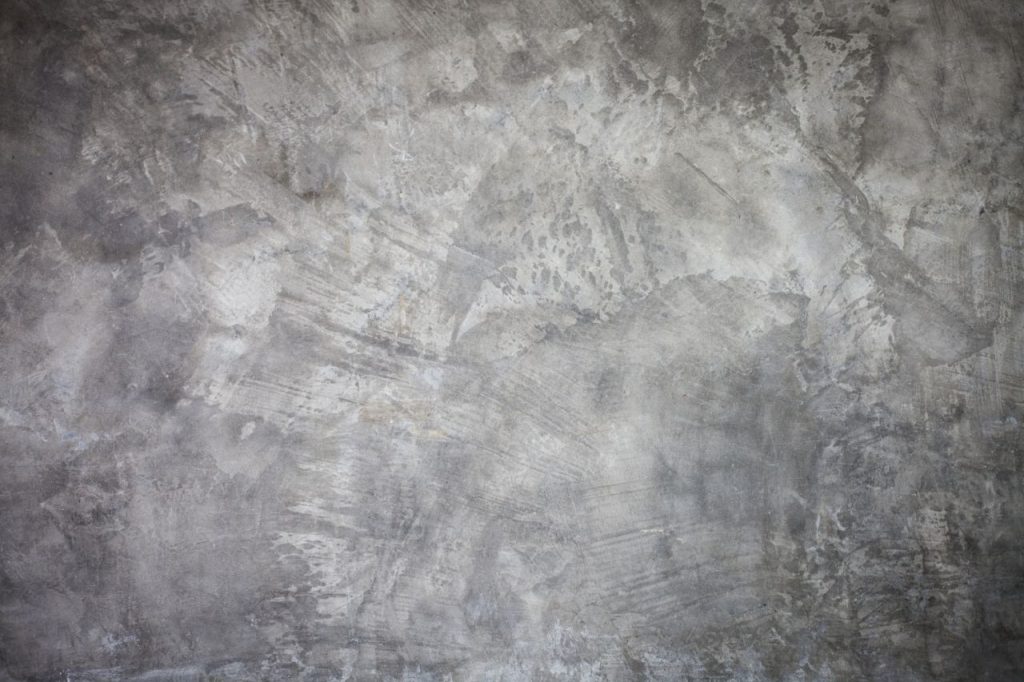
When the Venetian plaster is applied and then burnished, it takes on the appearance of real marble.
Venetian plaster surfaces have traditionally relied on specialised materials and processes applied by trained artisans to produce their desired effect. Thankfully, modern products have made it possible for non-professionals to get identical outcomes with less effort and instruction.
The acrylic polymers used in today's products also make for a surface that is stronger and lasts longer. If you want high-quality Venetian plaster, you have to pay for it. Cheap imitations are little more than paint with fillers added, but high-quality Venetian plaster is made with real marble dust blended into an acrylic binder.
Home improvement stores and art supply warehouses typically stock Venetian plaster. Like paint, it comes in gallon cans. Venetian plaster, however, might be more expensive than regular paint.
One benefit of using Venetian plaster is that not many materials are needed to do the job. The basic components of a Venetian plaster feature wall are the plaster itself and a steel trowel. When a primer and flat wall paint is needed as a foundation coat on new drywall, a range of basic painting materials may be needed.
The Venetian Plaster Effect
The Roman Empire adopted Venetian plaster from Italy's Venice as a way to create the look of real stone in its palazzi, villas, and cathedrals.
Venetian plaster was made by mixing lime plaster with marble dust and colours, then trowelling it on in several thin layers with short, overlapping strokes.
Although this traditional technique is still used by certain painters, most homeowners opt for ready-to-apply cans of synthetic paint designed to look like Venetian plaster or a DIY plaster finish consisting of tinted joint compound and coloured glaze.
The walls and ceilings of your living areas, bedrooms, and bathrooms can have the sumptuous appearance of genuine stone without the high cost or time-consuming installation required by some other methods.
What You’ll Need
Plastering a wall in the Venetian style calls for a unique combination of equipment and supplies. The basic supplies for applying Venetian plaster to a wall are as follows:
Tools
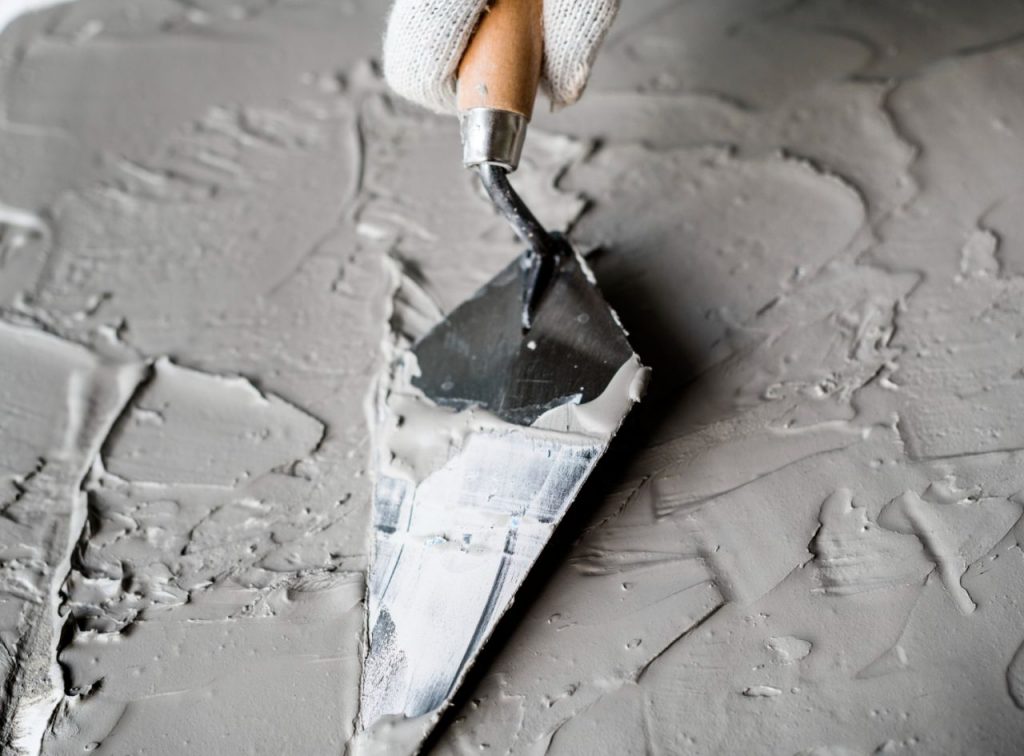
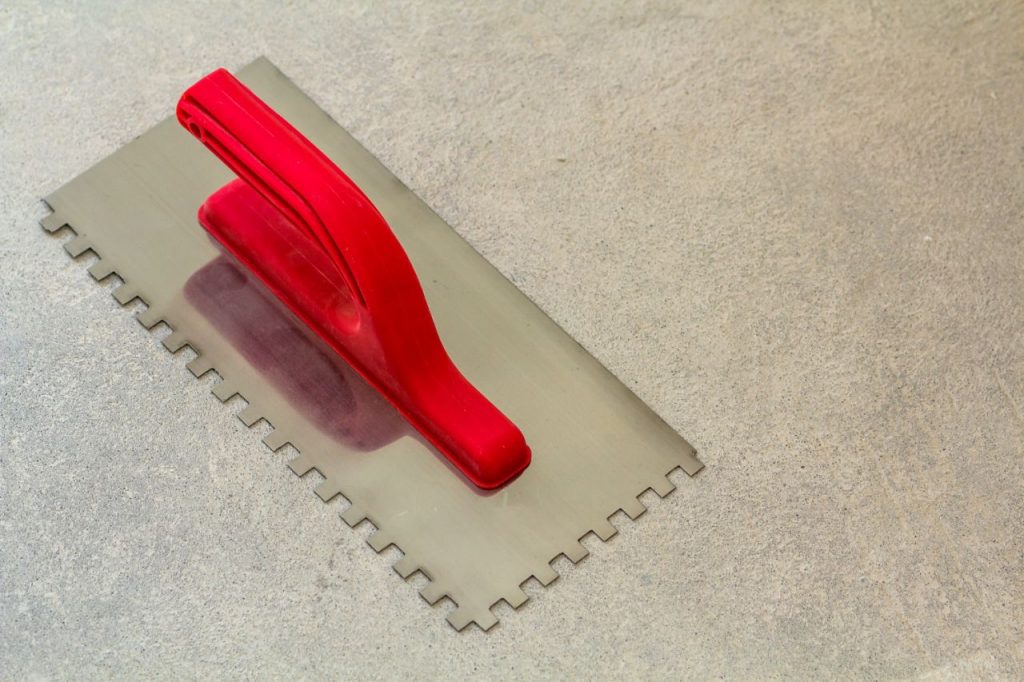
- Trowel: Spreading and smoothing the plaster onto the wall requires a special trowel made of Venetian plaster. The shape and size of the trowel, which is often made of steel or stainless steel, are determined by the area that needs to be covered.
- Sandpaper: After the plaster has dried, the surface is sanded with fine-grit sandpaper to smooth and polish it.
- Paintbrush: A paintbrush with soft bristles is ideal for applying wax sealer or gloss to the cured plaster surface.
Materials
- Venetian Plaster: The distinctive plaster known as Venetian plaster is made by combining slaked lime with marble dust or other aggregates. It comes in a wide range of hues and sheens, from matte to satin to high gloss.
- Primer: Plaster that doesn't stick well to the wall surface can be remedied by first applying a primer. It needs to be manufactured for use with Venetian plaster and used in the manner specified by the plaster's creators.
- Sealer or glaze: Once the plaster has dry, a sealer or glaze can be used to preserve the surface, as well as improve the colour and quality. They can be purchased in a variety of colours and styles, including transparent, tinted, and metallic.
- Tint or pigment: The plaster mixture can be tinted or pigmented to achieve certain colours or effects. They should be properly blended into the plaster before use.
- Burnishing wax: Burnishing wax is used to give the completed plaster surface a last layer of protection and lustre.
To create a smooth and durable finish, applying Venetian plaster calls for specialised tools and materials that must be carefully selected and prepared.
It is possible to greatly improve the finished product's aesthetic and long-term durability with careful surface preparation, application methods, and finishing touches.
Instructions
Put Your Skills To Use
Just because you know how to paint a space doesn't mean you're also skilled at the Venetian plaster technique.
Spending even a short amount of time exercising this new information will do wonders for your self-assurance and competence.
Buying a few sheets of drywall and applying some plaster with a trowel, experimenting with different strokes and angles, is a fantastic method to hone your skills. Try your hand at sculpting a variety of surface textures.
When tinting plaster yourself, it's best to work in small batches and experiment with different amounts of colourants while making careful notes.
Prepare the Room
Make as much space as possible and lay down a drop cloth. Most ceilings and walls are suitable for Venetian plaster, but the surface must be flat and smooth. First, you should fill and sand any gaps or holes you see.
Scrub the grime and oil from your skin. Before applying Venetian plaster, you should prepare or paint the surfaces flat.
Tips:
- When plastering over glossy paint, a light sanding is required to eliminate the shine. If you want to know if there is anything else you need to do to get ready to use Venetian plaster, read the directions on the can.
- Sharp corners on steel trowels and drywall knives can cut into the plaster, leaving lines and scratches. Use 100-grit sandpaper to smooth off the sharp edges of your instruments and you won't have to worry about this happening.
- Plaster can cause skin irritation, so it's best to use protective gear like gloves when working with it.
- If you need to distribute the Venetian plaster high over your head, be sure to shield your eyes.
- Before each use, thoroughly combine the Venetian plaster.
Put on the First Coat

Remove the lid from the Venetian plaster and adjust the colour accordingly. Be sure to combine everything well.
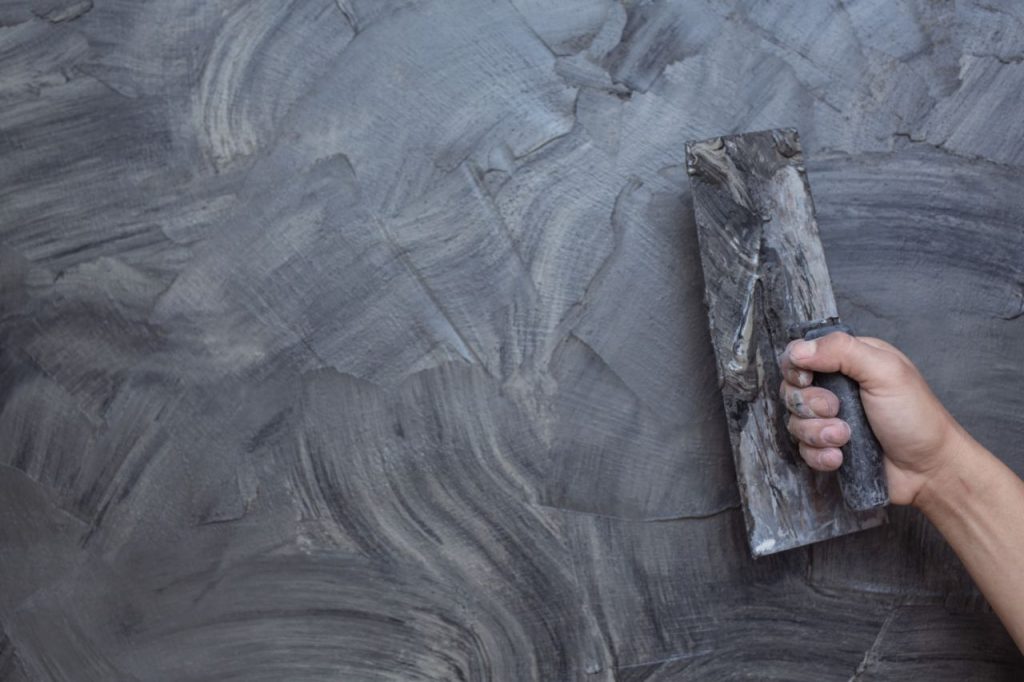
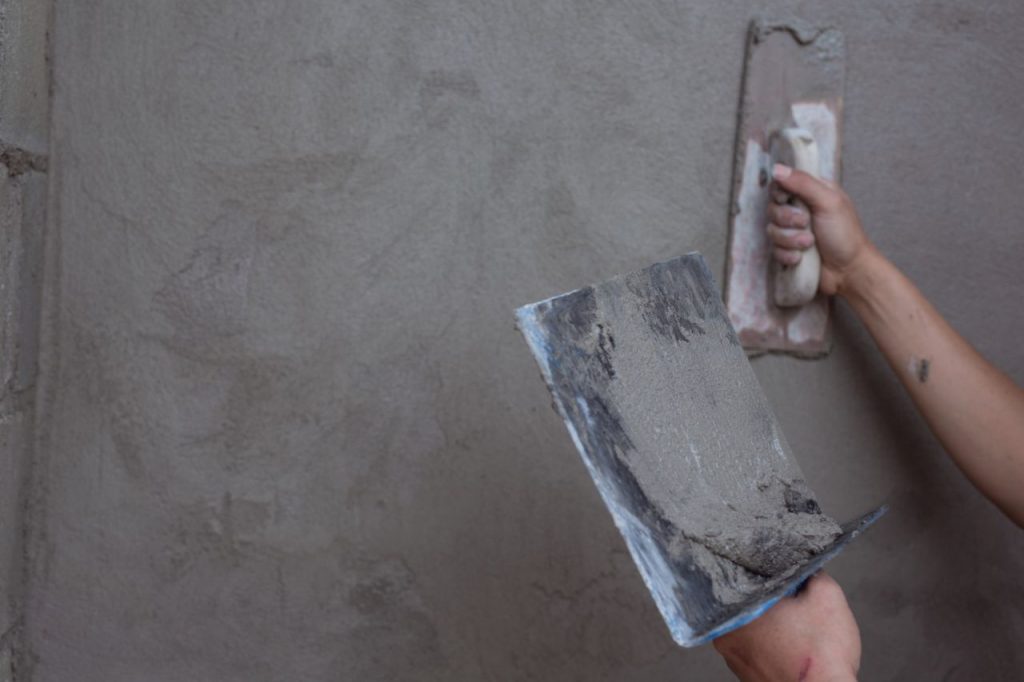
Apply the plaster using a flexible metal trowel or a 4" to 6 ” wide drywall knife, beginning in a room corner. With a trowel held at an angle of 15 degrees to 30 degrees to the wall, put on a light coat of plaster.
Variable-length and -angle strokes should be used to evenly distribute the plaster.
You don't need to cover every inch equally.
Leave part of the wall's original finish exposed in strategic places while maintaining a relatively smooth overall surface. Trowels should be cleaned periodically to prevent dried plaster from ruining the finish.
Before applying a second coat, give the plaster at least four hours to dry completely.
Use the Second Coat
The second layer should be done in Venetian plaster of the same colour as the first. Another light coat of plaster should be applied while holding the trowel and drywall knife at an angle of 60 to 90 degrees. Use long and short (X-shaped) strokes into your composition. Include any gaps or low points and spread out the coverage evenly.
When 24 hours have passed, you can proceed with the finishing treatment on the plaster.
Polish the Finish
Burnishing the surface and maybe putting a finish are the final steps in completing Venetian plaster work.
To burnish, use very fine sandpaper (400 or 600 grit) and a circular motion to smooth the surface. Wipe the area down with a moist towel to clean it. Rub the area with the flat side of a clean trowel or putty knife to make it look smoother.
Apply a Finishing Coat (Optional)
Applying a topcoat as a final step is recommended for increased durability.
This is highly suggested for high-moisture spaces (like restrooms) and busy thoroughfares. If you prefer to use a topcoat, pick one that is suggested for your particular plaster brand.
Once the plaster has dried, the finish is often placed with a trowel. Remember that the topcoat has the potential to slightly darken the colour.
Burnish the surface once more with the flat side of a clean trowel or putty knife once it has dried.
Paste wax can be used as a protective coating and to give shine to the surface. Spread a thin layer of wax on the surface with the trowel, and then burnish it by rubbing it with the tool's side.
How long does it take for Venetian Plaster to dry?
Several variables affect how long it takes for Venetian plaster to cure, including the plaster's composition, the thickness of the coatings, the room's humidity and temperature, and the ventilation. Plastering a Venetian wall usually calls for two coats, with drying periods in between.
Venetian plaster requires a number of hours to dry after the initial layer is placed, anything from 12 to 24 hours. After another 12–24 hours, the second coat is applied and allowed to dry. The plaster must be allowed to dry thoroughly before any additional coats are applied or before polishing or burnishing is performed.
Plaster often takes several days, even up to a week, to dry and cure completely. At this time, make sure the space has adequate ventilation and is kept at a constant temperature. Plaster's final finish and durability might be negatively impacted if it is touched or disturbed while it is drying.
What are the most durable polished plaster solutions?
Smooth, polished plaster lasts for quite some time. It must be, as it is intended to stand on its own as a decorative element in the absence of wallpaper or paint. It's as defenceless as a stone wall. Despite being subjected to the elements, such as water and sunlight, polished plaster can keep its colour over decades without peeling or fading.
The composition is the primary reason for its longevity.
Plaster that has been polished is made of lime putty and crushed stones. Due to the high stone component, the plaster becomes extremely hard once it has dried. It's not exactly as hard as genuine marble, but it's as close as you can get without touching the real thing.
Stucco Veneziano, Spatulato, Marmorino, Marble Plaster, Italian Plaster, and Polished Plaster are all names for polished plaster. The same plaster combining lime putty, stone dust, and natural colours goes by several other names, but the origins are the same.
There is, however, a newer, more advanced variety of polished plaster available. Natural stone dust and lime putty are also components, but resins or acrylics are also present (plastic dust). This plaster is quicker to dry and less cumbersome to apply.
Plasters with resin or acrylic provide a final appearance that is quite close to that of authentic Venetian plaster. These plasters are slightly better in terms of longevity as well, due to the acrylic or resin acting as a bonding agent.
Because of the increased flexibility and solidity of the plaster, the finish is less likely to crack over time.
Certain acrylic and resin-polished plasters are preferable to traditional polished plasters since they do not require sealing. Yet, this is merely an advantage with respect to the labourers and the time saved. The two are functionally equivalent.
Plaster from the Veneto region of Italy is far more durable than wallpaper. And it will never peel or fade like paint does. Because of the real stone used, this finish is much harder and will last far longer than regular plaster.
Polished plaster is so long-lasting that chambers in centuries-old Italian structures that were once finished with Venetian plaster still look like new.
The material has been around since Roman times, and you can find examples of it in Roman ruins all around Europe that were decorated with Venetian plaster. Pompeii is a good example of a site where you can find antique Venetian plaster.
In the end, if you're looking for polished plaster options for your own project, you can't go wrong with either classic Venetian plaster or cutting-edge acrylic or resin-based plaster. The only thing to keep in mind is that old-fashioned plaster must be sealed, while newer materials may not require any sort of protection. Both are extremely sturdy and will serve you well for decades.
Conclusion
Venetian plaster is a contemporary take on an age-old method of making stucco. It's created by trowelling on several thin layers of lime plaster using short, overlapping strokes, and then colouring it with marble dust.
Genuine marble dust is mixed with an acrylic binder to create high-quality Venetian plaster, which is then packaged in gallon cans. The Roman Empire imported Venetian plaster from Italy to use in its palazzi, villas, and cathedrals to imitate the look of real stone. The materials and tools needed to plaster a wall in the Venetian style are specific.
Venetian plaster trowels, sandpaper, paintbrushes, primer, sealer or glaze, tint or pigment, and burnishing wax are among the implements that can be used. Slaked lime is the main ingredient in making plaster, which can be found in a variety of colours and sheens.
Primers made specifically for use with Venetian plaster should be applied as directed by the plaster's manufacturers.
There is a wide selection of colours and textures available for use as a sealer or glaze. Before using plaster, it should be tinted or pigmented.
To add a final layer of protection and shine to the finished plaster surface, burnishing wax is used. To create authentic Venetian plaster, one needs specialised equipment and materials, all of which must be carefully sourced and prepared. Surface preparation, application methods, and finishing touches can have a significant impact on the aesthetic and long-term durability of the final product.
Invest in some drywall and some plaster and practise your technique by applying it in various ways with a trowel. Get ready for your performance by cleaning the stage, scrubbing away any dirt and oil, and sanding down the rough edges of your instruments with 100-grit paper.
When handling it, always use safety equipment such as goggles and gloves. Take the lid off the Venetian plaster and mix it to the desired shade before applying the first coat. Apply the plaster at an angle of 15 degrees to 30 degrees to the wall using a flexible metal trowel or a 4" to 6" wide drywall knife. Allow the plaster to dry for at least four hours before applying a second coat. Polish the finish using fine sandpaper and a circular motion.
Content Summary
- The term "Venetian plaster" refers to a modern interpretation of an ancient technique for creating a stucco wall finish.
- Venetian plaster surfaces have traditionally relied on specialised materials and processes applied by trained artisans to produce their desired effect.
- If you want high-quality Venetian plaster, you have to pay for it.
- Cheap imitations are little more than paint with fillers added, but high-quality Venetian plaster is made with real marble dust blended into an acrylic binder.
- One benefit of using Venetian plaster is that not many materials are needed to do the job.
- The basic components of a Venetian plaster feature wall are the plaster itself and a steel trowel.
- When a primer and flat wall paint is needed as a foundation coat on new drywall, a range of basic painting materials may be needed.
- Plastering a wall in the Venetian style calls for a unique combination of equipment and supplies.
- Spreading and smoothing the plaster onto the wall requires a special trowel made of Venetian plaster.
- Primer: Plaster that doesn't stick well to the wall surface can be remedied by first applying a primer.
- To create a smooth and durable finish, applying Venetian plaster calls for specialised tools and materials that must be carefully selected and prepared.
- Just because you know how to paint a space doesn't mean you're also skilled at the Venetian plaster technique.
- Try your hand at sculpting a variety of surface textures.
- Make as much space as possible and lay down a drop cloth.
- Most ceilings and walls are suitable for Venetian plaster, but the surface must be flat and smooth.
- Before applying Venetian plaster, you should prepare or paint the surfaces flat.
- If you want to know if there is anything else you need to do to get ready to use Venetian plaster, read the directions on the can.
- Remove the lid from the Venetian plaster and adjust the colour accordingly.
- Apply the plaster using a flexible metal trowel or a 4" to 6 " wide drywall knife, beginning in a room corner.
- With a trowel held at an angle of 15 degrees to 30 degrees to the wall, put on a light coat of plaster.
- Before applying a second coat, give the plaster at least four hours to dry completely.
- The second layer should be done in Venetian plaster of the same colour as the first.
- When 24 hours have passed, you can proceed with the finishing treatment on the plaster.
- Burnishing the surface and maybe putting a finish are the final steps in completing a Venetian plaster work.
- Wipe the area down with a moist towel to clean it.
- Applying a topcoat as a final step is recommended for increased durability.
- Once the plaster has dried, the finish is often placed with a trowel.
- Burnish the surface once more with the flat side of a clean trowel or putty knife once it has dried.
- Several variables affect how long it takes for Venetian plaster to cure, including the plaster's composition, the thickness of the coatings, the room's humidity and temperature, and the ventilation.
- What are the most durable polished plaster solutions?
- Smooth, polished plaster lasts for quite some time.
- Plasters with resin or acrylic provide a final appearance that is quite close to that of authentic Venetian plaster.
- Certain acrylic and resin polished plasters are preferable to traditional polished plasters since they do not require sealing.
- Plaster from the Veneto region of Italy is far more durable than wallpaper.
- Polished plaster is so long-lasting that chambers in centuries-old Italian structures that were once finished with Venetian plaster still look like new.
- Pompeii is a good example of a site where you can find antique Venetian plaster.
- In the end, if you're looking for polished plaster options for your own project, you can't go wrong with either classic Venetian plaster or cutting-edge acrylic or resin-based plaster.
Frequently Asked Questions About Venetian Plaster
Plastering in the Venetian style (also known as Italian plastering) involves creating a marble-like finish on a surface. The natural look and the illusion of texture and patterns offered by Venetian plaster contribute to its classy and elegant appearance.
Venetian plaster is suitable for use in humid environments, such as bathrooms. However, a protective sealer should be applied to avoid water damage and discoloration.
It takes more than just a few YouTube videos to learn how to apply Venetian plaster like a pro. To get the best results from Venetian plaster, it's best to hire a professional.
Providing it is applied and maintained properly, Venetian plaster can last for many years. It is a durable material for interior finishes because it does not easily crack, chip, or fade.
Venetian plaster can be coloured and textured in a wide variety of ways. When mixing the plaster, pigments can be added to change the colour. It's worth keeping in mind that factors like application method and ambient lighting can affect how a colour turns out.